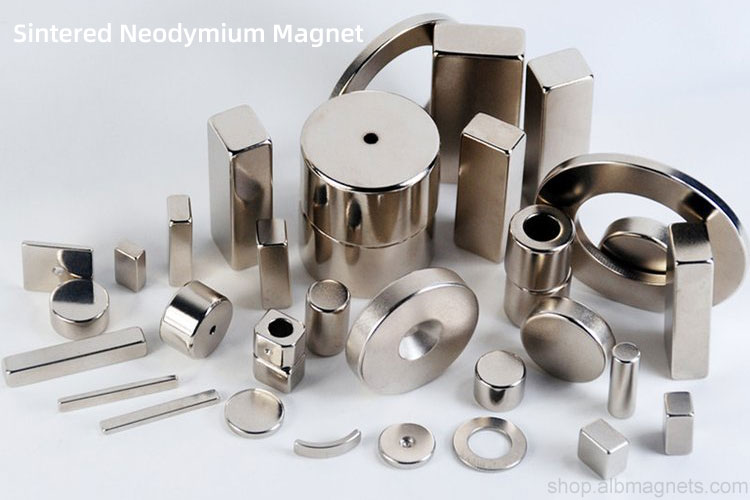
How Are Rare Earth Neodymium Magnets Made?
Neodymium magnets are technological marvels and the process for creating them is sophisticated and delicate.
Step:
1. Vacuum melting
2. Grinding, jet mill
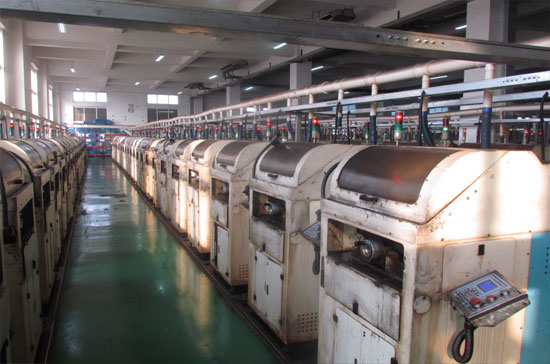
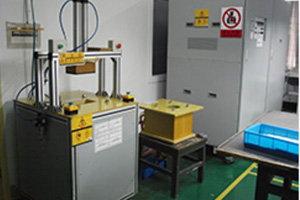
3. Fully automatic forming press
4. Vacuum sintering furnace
5. Slicing
6. Electroplating
7. Magnetizing
The main ingredients of a neodymium magnet are neodymium itself, iron, and boron; the chemical compound known as NdFeB. The exact ingredients depend on the grade or strength of the magnet being produced.
However, the production process for different strength magnets sees the same size different stages required to produce a neodymium magnet.
· Step 1 – Vacuum melting
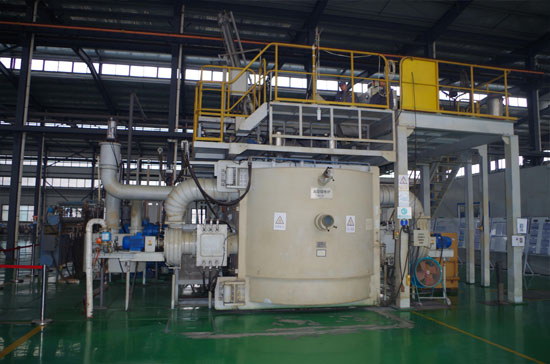
Vacuum melting furnace
Firstly, all the elements to make the chosen grade of the magnet are placed into a vacuum induction furnace, heated and melted to form the alloy material.
· Step 2 – Grinding, jet mill
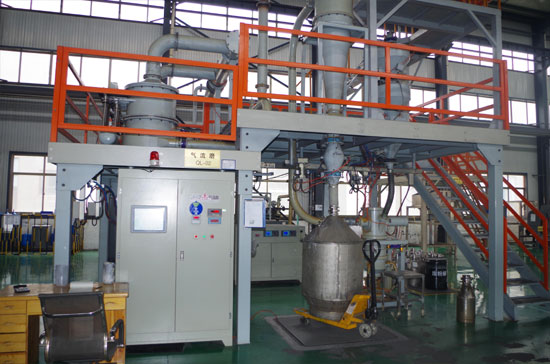
Jet mill
This mixture is then cooled to form ingots before being ground into tiny grains in a jet mill. Each grain is typically only three microns in size, smaller than a red blood cell.
· Step 3 – Molding
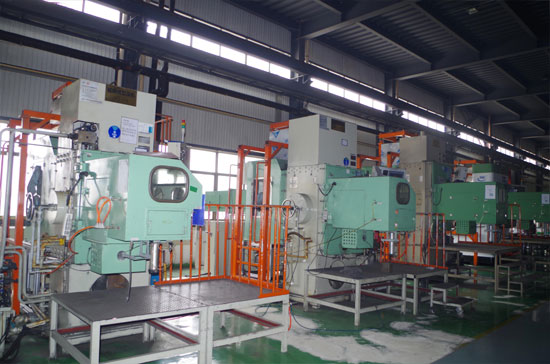
Fully automatic forming press
The super-fine powder is then pressed in a mold and at the same time, magnetic energy is applied to the mold.
Magnetism comes from a coil of wire that acts as a magnet when an electrical current is passed through it.
As the mixture is pressed, the direction of magnetism is locked in! When the particle structure of the magnet matches the direction of magnetism, this is called an anisotropic magnet.
· Step 4 – Sintered

Vacuum sintering furnace
This isn't the end of the process, instead, at this point, the magnetized material is demagnetized and will be re-magnetized later in the process.
At this stage, the material would be far too soft and crumbly to be useful.
The next step is for the material to be heated, almost until the melting point in a process called sintering which makes the powdered magnet particles fuse together.
This process takes place in an oxygen-free, inert environment.
· Step 5 – Cooled & Machined
Slicer
Almost there, the heated material gets rapidly cooled using a technique known as quenching.
This rapid cooling process minimizes areas of poor magnetism and maximizes performance.
This is the stage when the raw magnets are machined into their desired shape, however, because they are so hard diamond plated cutting tools are needed!
· Step 6 – Plating, A coat for all applications
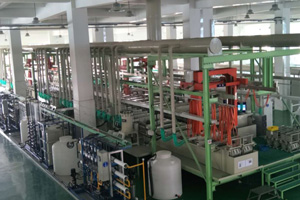
plating
The last step before the material is re-magnetized is vital. Because neodymium magnets are so hard, making them prone to breaking and chipping, they must be coated, cleaned, dried, and plated.
There are many different types of coating that are used with neodymium magnets, the most common being a nickel-copper-nickel mixture but they can be coated in other metals and even rubber or PTFE.
· Step 7 – Magnetised
Magnetizer
Once plated, the finished material is re-magnetized by placing it inside a coil, which, when the electric current is passed through it produces a magnetic field three times stronger than the required strength of the magnet.
This is such a powerful process that if the magnet is not held in place it can be flung from the coil like a bullet.
How Are Samarium Cobalt Magnets Made?
Samarium cobalt magnets are widely produced and the permanent magnets are primarily made up of samarium and cobalt but some grades will also contain varying small amounts of iron (Fe), copper (Cu), hafnium (Hf), zirconium (Zr) and praseodymium (Pr).
A number of common manufacturing processes can be used to produce samarium cobalt magnets but typically, a method of reduction and melting is used followed by a process of bonding or sintering the raw material to form the magnet.
Bonded Samarium Cobalt Magnets
· Step 1 – Heated
Firstly, the raw materials required to produce a samarium cobalt magnet are heated in an induction furnace filled with argon gas and melted to form the alloy material.
· Step 2 – Milling
Next, the liquid alloy is then poured into molds and cooled with water to form ingots. Once the ingots have cooled they are then broken down, ground, and milled to produce tiny particles.
· Step 3 – Mixing
As an alternative to sintering, the alloy powder is mixed with a binding chemical such as an epoxy resin, die pressed, and heated in the presence of an externally applied magnetic field to orientate the particles.
As a result, most bonded samarium cobalt magnets are anisotropic but typically have a lower maximum energy value than sintered samarium cobalt magnets.
· Step 4 – Pressed & Coated
Typically, bonded samarium cobalt magnets don't require any additional machining as they are pressed into their desired form.
The final step is for the magnets to be coated if a coating is required and then magnetized using an externally applied magnetic field.
Sintered Samarium Cobalt Magnets
The first two steps for creating sintered samarium cobalt magnets are identical to the first two steps in manufacturing the bonded form. The process differs at step three, where we will pick up here:
· Step 3 – Sintered
As an alternative to bonding the alloy particles using a binding chemical, the powder is pressed into a die and sintered at a temperature up to 1250˚C, fusing the powder into a solid.
The sintered material is then given a solution treatment at similar temperatures before being tempered between 700˚C and 900˚C and then cooled in the presence of an externally applied magnetic field.
· Step 4 – Machining
The next process in manufacturing a sintered samarium cobalt magnet is the machining and grinding.
Unlike the bonded form, a level of grinding and finishing is required and must be done using water-cooled diamond-coated grinding machinery as the material is very hard and brittle and the dust produced is highly flammable.
· Step 5 – Coated & Magnetised
The final process sees the formed magnet is then coated and magnetized.